- AMERICAN
- Chicken Casserole
- Chicken Salad Sandwiches new
- Chili
- Macaroni and Cheese
- Scalloped Potatoes and Ham
- Seasoned Hamburgers
- Stuffed Cabbage
- See also:
- Chicken Noodle Soup
- Mrs. Fields Chocolate Chip Cookies
- Rainbow Finger Jello
- Scalloped Corn
- Steak with Wine Sauce
- APPETIZERS
- Crab Dip
- Potato Corn Cakes
- Potato Spring Rolls
- Spinach Dip
- See also:
- Guacamole
- Pico de Gallo (Salsa)
- Taco Dip
- Tomato Salsa new
- Tsukune (Teriyaki Meatballs) new
- ASIAN
- BREAD
- Cinnamon Rolls
- Cranberry Bread
- French Bread
- Hazelnut Wheat Bread
- Hisako's Killer Rolls new
- Multi-Grain Bread
- Raisin Bread
- Panettone
- Pesto Cheese Rolls
- Pumpkin Nut Bread
- Pumpkin Bread with Cranberries
- Sourdough Bread
- See also:
- Artichoke Pizza
- Banana Bread
- Chinese Steamed Buns
- Garden Pesto Pizza
- Mexican Cornbread
- Orange Nut Muffins
- Sweet Cornbread
- Zucchini Bread (No Oil)
- DESSERT
- ITALIAN
- Bell Pepper Pasta Salad
- Eggplant Parmesan
- Pesto Sauce
- Pizza (Artichoke)
- Pizza (Garden Pesto)
- Pizza (Sun-Dried Tomatoes)
- Portobello Mushroom Pasta
- Red Bell Pepper and Mozzarella Salad
- Salmon Pasta
- Seafood Spaghetti
- Spinach Lasagna new
- Sun-Dried Tomatoes
- Toasted Eggplant Parmesan
- Tomato Sauce
- Tortellini and Smoked Salmon Salad
- Tortellini with Basil Sauce
- Zucchini with Sun-Dried Tomatoes
- See also:
- Amaretti
- Minestrone
- Tiramisu
- MEAT & POULTRY
- Chicken Kebab
- Cilantro Parsley Chicken
- Honey Mustard Chicken
- Yogurt Salmon
- Roast Chicken
- Salmon Teriyaki new
- Steak with Wine Sauce
- See also:
- Beef Omelette new
- Beef Stew new
- Char Siu (Barbecue Pork)
- Chicken with Cantonese Marinade
- Korean Barbecue
- Lemon Chicken
- Seasoned Hamburgers
- Tandoori Chicken
- Tsukune (Teriyaki Meatballs)
- MEXICAN
- SALAD
- Almond Tomato Salad
- Broccoli Salad
- Chinese Chicken Salad
- Coleslaw with Peanuts and Cilantro
- Creamy Italian Dressing
- Cucumber and Zucchini Salad
- Falafel Salad
- Fruit Salad Dressing
- Peanut Dressing
- Pineapple and Cheese Salad Mold
- Sesame Shoyu Dressing new
- Spinach Salad
- Three Bean Salad
- Tofu and Yogurt Dressing
- See also:
- Bean Sprouts
- Bell Pepper Pasta Salad
- Chicken Salad Sandwiches new
- Red Bell Pepper and Mozzarella Salad
- Taco Salad new
- Tortellini and Smoked Salmon Salad
- SOUP
- VEGETABLE
- Asparagus with Pine Nuts
- Baked Summer Vegetables new
- Crispy Potato Slices new
- Cucumber with Wakame
- Eggplant with Curry Dressing
- Green Beans with Hoisin Sauce
- Potato Corn Cakes
- Red Bell Pepper Paste
- Scalloped Corn
- See also:
- Bean Sprouts
- Green Beans with Sesame
- Pea Shoots with Garlic
- Potato Spring Rolls
- Red Bell Pepper and Mozzarella Salad
- Spinach with Sesame Dressing
- Toasted Eggplant Parmesan
- Zucchini with Sun-Dried Tomatoes
- INDEX
- Bars & Squares
- Bread & Muffins
- Cake
- Candy
- Cookies
- Drinks
- Ice Cream & Sorbets
- Jams & Fillings
- Japanese Desserts
- Pancakes & Crepes
- Pies & Pastries
- Pudding & Gelatin
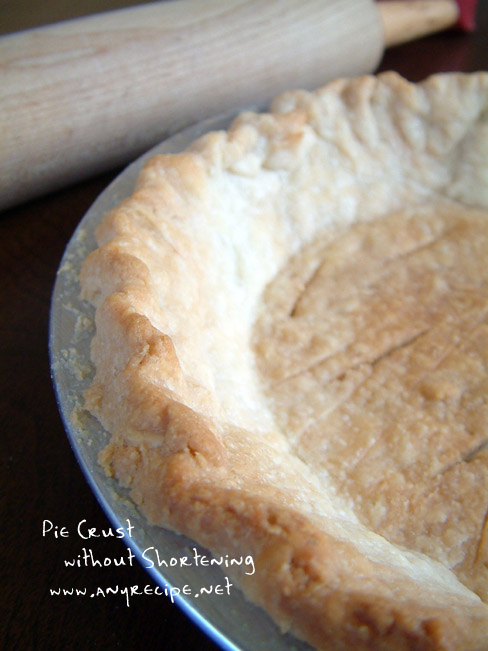
Pie Crust without Shortening
Skipping the shortening makes the dough a little more challenging to shape, but the result is a lighter, delightfully crunchy crust.
See also: traditional and vegan pie crusts
Video Instructions:
This recipe was updated on 1/30/2018.
Ingredients for a 9-inch pie crust (all the ingredients must be chilled in advance):
- 1/2 teaspoon salt
- 1 cup (130 g) all purpose flour
- 2 tablespoons cold butter or vegetable oil
- 3 tablespoons vegetable oil
- 1.5 tablespoons cold water
Directions:
- In a bowl mix well:
- 1 cup (130 g) all purpose flour
- 1/2 teaspoon salt
- Add butter and cut into small pieces:
- 2 tablespoons cold butter (or vegetable oil)
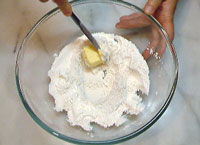
- 2 tablespoons cold butter (or vegetable oil)
- Sprinkle 3 tablespoons vegetable oil.
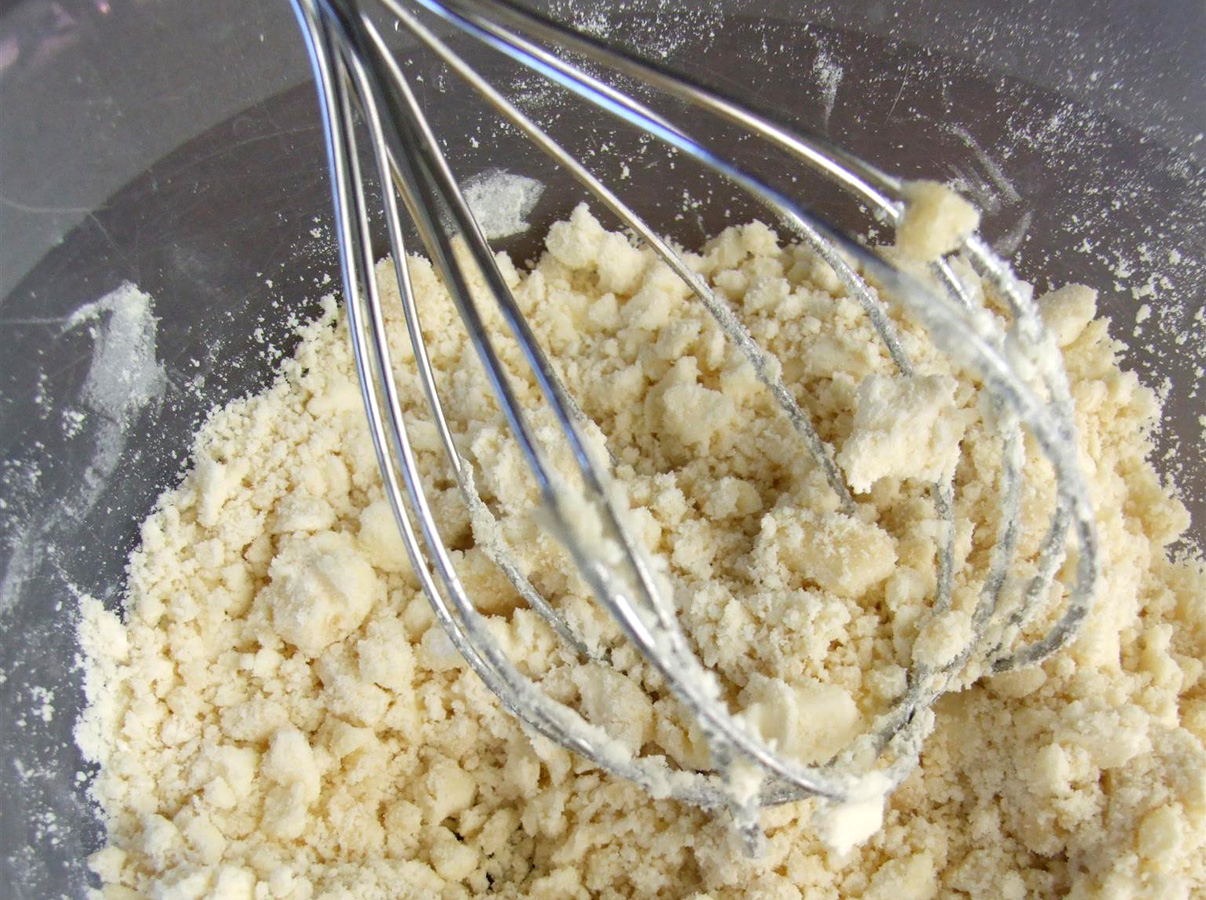
- With a pastry blender, cut the butter and oil
into the flour mixture until the largest pieces are roughly pea-sized.
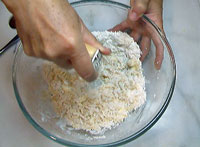
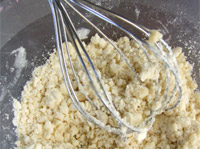
The dough becomes darker when the vegetable oil is mixed evenly.
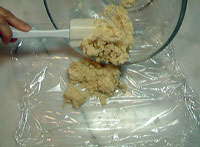
- Sprinkle 1.5 tablespoons cold water evenly.
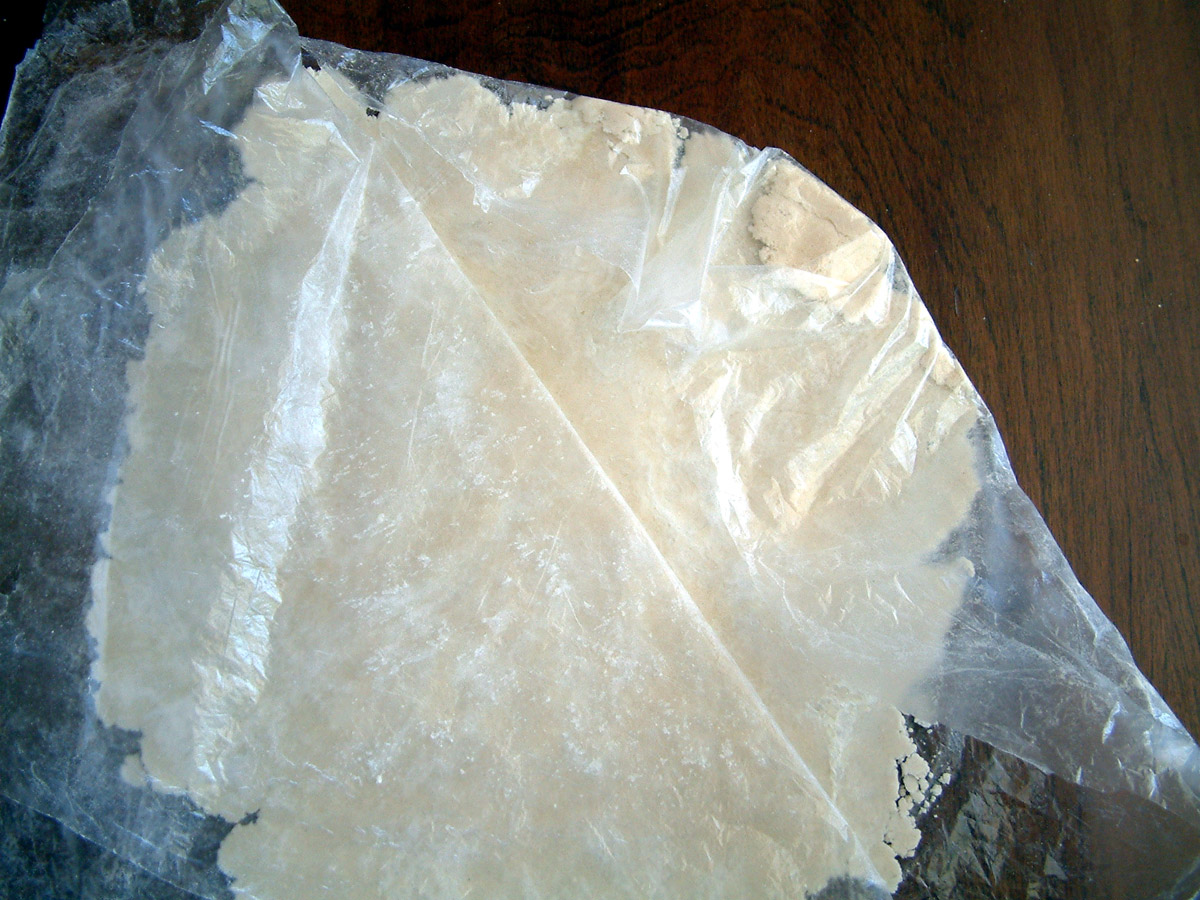
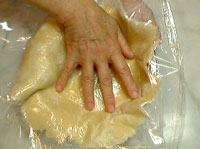
- Cut a sheet of plastic wrap that is 2
inches bigger than the pie pan. You may need to use two sheets overlapping in the middle
to make it large enough. Lightly sprinkle
flour over the plastic wrap and place the dough in the center. The
flour will prevent the dough from sticking.
With a fork or knife, you can break up the lumps of
dough that formed from the water and spread it over the rest of the dough, allowing
the moisture to spread evenly. Do not mix the dough, however.
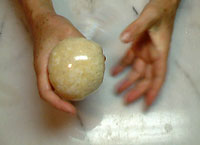
- Wrap the dough in plastic wrap and gently form it into a ball.
- Unwrap the dough leaving it on the plastic wrap and cover with another sheet of plastic warp that
has been lightly sprinkled
with flour.
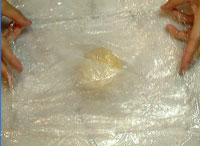
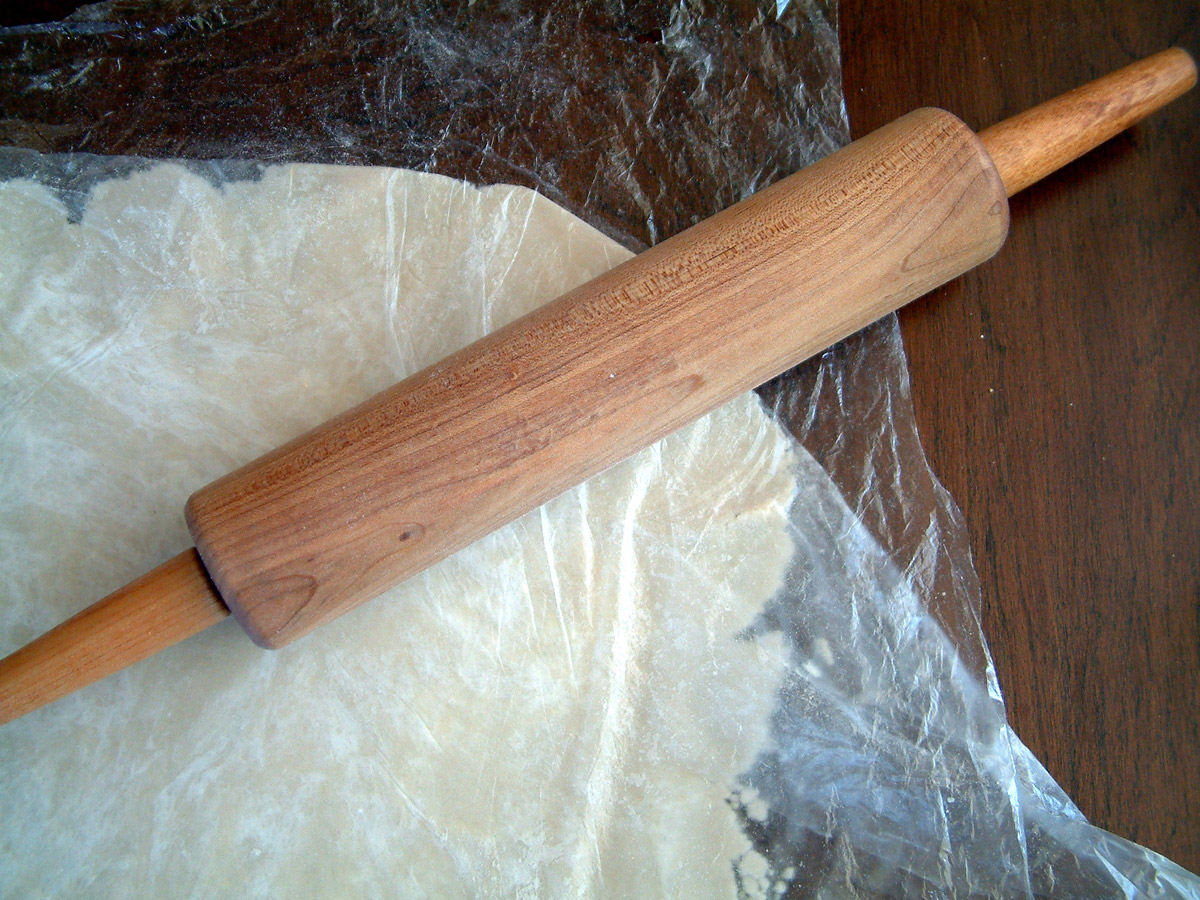
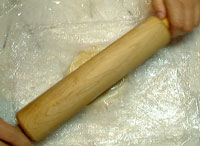
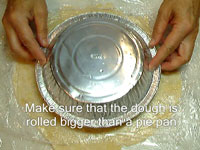
- Using a rolling pin, gently roll the dough into a circle
that is 1 inch wider than the pie pan and about an 1/8 inch thick. Do not overwork the
dough because it will become like shortbread instead of being flaky.
- Working without shortening is more challenging, so it the edges may crack when you roll out
the dough. To fix them, fold the edges of
the bottom plastic wrap over the cracked edges. Roll out the dough with the rolling pin perpendicular to each
crack you are correcting. To see a demonstration of this technique, you can see it here:
Technique for
smoothing the edges of the pie dough.


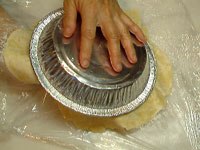
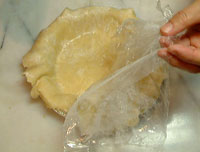
- Once you are happy with the shape, remove the top piece of plastic
wrap. Place the pie pan upside down on the flattened dough. Put one hand under the plastic wrap and
hold it against the center of the pie. Put another hand on the bottom of the pie pan and quickly
flip it over.
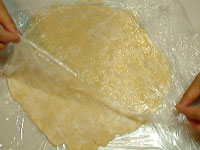
- Center the dough on the pie pan. Remove
the plastic wrap slowly.
- Press
the dough lightly to make sure there are no air bubbles underneath. Take the overhanging edge of the pie crust and
fold that under itself and very gently crimp the edge of the pie crust with your hands.
If pieces of the crust break off, gently press them back onto the pie crust. Again, try not to overwork the dough
to keep the crust flaky.
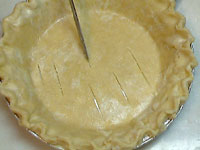
If the crust is to be baked without a filling, cut a few slits in the bottom of the dough.
This will stop large bubbles from forming.
- Cover with plastic wrap and chill the pie crust in the refridgerator until the oven is ready.
If it is a hot day and the butter is melting, you may need to chill it for at least 1 hour before baking.
You can refridgerate the dough up to
12 hours before baking if you are planning to bake the crust later.
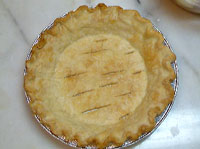
Chilling the dough will keep it from shrinking when it is baking. Preheat the oven to 425°F
(218°C) and bake for 10-15 minutes or until the edge and the bottom of the crust are nicely brown.
1/30/2018 Update:
- Increased 1.5 Tbsp butter to 2 Tbsp butter to give better flavor.
- Reduced 3 Tbsp water to 1.5 Tbsp water to keep the pie crust light and flaky. Because water and flour produces gluten, too much water can make the crust dense and hard.
- Increased the baking temperature from 400°F to 425degF.
- Simplified the directions to make the recipe easier to follow.
 Print this recipe